


UV DTF (Ultra-Violet Direct-to-Film) transfers are rapidly gaining popularity in the world of digital printing due to their versatility, durability, and vibrant print quality. Unlike traditional methods, UV DTF allows users to print on various surfaces without pre-treatment, expanding creative possibilities for both professionals and hobbyists. This guide will walk you through the essentials of UV DTF technology, the equipment required, a detailed step-by-step process, and how to troubleshoot common issues.
What are UV DTF Transfers?
UV DTF transfer is a process where ultraviolet light is used to cure specially formulated inks onto a transfer film, which is then applied to a wide range of hard surfaces. It combines UV printing technology with DTF techniques, offering a hybrid solution that bypasses the limitations of each method when used alone.
Unlike traditional DTF which requires powder adhesive and a heat press for application to fabric, or UV printing that’s typically used for direct surface printing on rigid materials, UV DTF transfers, allow for greater flexibility by using a film to transfer the cured design onto a target surface (not fabric).
Why Choose UV DTF Transfers for Your Printing Projects?
Durability: UV DTF prints are waterproof, scratch-resistant, and UV-stable.
Vibrant Color Output: The use of UV inks enables crisp, photo-quality results.
Cost-Effective: Eliminates the need for pre-treatment or post-treatment processes.
Material Versatility: Works on glass, metal, wood, plastic, ceramics, and more.
Speed and Convenience: Once printed and cured, the transfer process is quick and reliable.
Materials Needed for UV DTF Transfers
UV DTF Printer
- Must support UV ink and be compatible with DTF film.
- Look for printers with built-in LED UV curing lamps and white ink capability.
UV DTF Film
- Comes in two layers: A (printing film) and B (transfer film).
- Ensure compatibility with your printer and UV ink.
UV Ink
- Specially formulated to cure under UV light.
- Not interchangeable with water-based or solvent inks or DTF inks.
Heat Press Machine
- Required for final adhesion, especially on curved or irregular surfaces.
- Choose a press that allows precise temperature and pressure control.
Other Tools & Supplies
- Gloves to prevent smudges or fingerprints.
- Cleaning solution for printer maintenance.
- UV curing lamp (if not built into printer).
- Squeegee or roller for application.
Step-by-Step Guide to Making UV DTF Transfers
Step 1: Design Your Artwork
Creating high-quality artwork is critical to the success of any UV DTF transfer. Unlike traditional DTF printing, UV DTF is far less forgiving when it comes to poor image resolution. Blurry or pixelated graphics will result in visibly low-quality transfers. For best results:
- Use professional-grade design software such as Adobe Illustrator, CorelDRAW, or Canva. Learn here how to design your gang sheet in Canva.
- Only use extremely high-resolution files ideally 300 DPI or higher.
- Save designs in optimal formats like PNG (with transparent background), TIFF, or vector-based PDFs.
- Always use CMYK color mode for accurate color translation.
- Avoid using low-res images. If unavoidable, place a clean, vector-traced edge around the image to ensure sharp lines and preserve visual quality.
In UV DTF printing, fantastic PNGs and clean vector files aren't optional, they're essential for producing professional-grade transfers that truly stand out.
Step 2: Prepare the UV DTF Printer
- Load the A film correctly.
- Ensure ink reservoirs are filled and the printer is calibrated.
- Run a nozzle check and test print to verify alignment and ink flow.
Step 3: Print the Design on the UV DTF Film
- Print color layer first, followed by white ink as underbase.
- Use the built-in UV light to instantly cure the ink.
- Allow the print to cool before proceeding.
Step 4: Apply the UV Ink
- Some printers apply the varnish/adhesive layer during printing.
- Ensure even application and proper layering.
- Avoid touching the printed surface to prevent contamination.
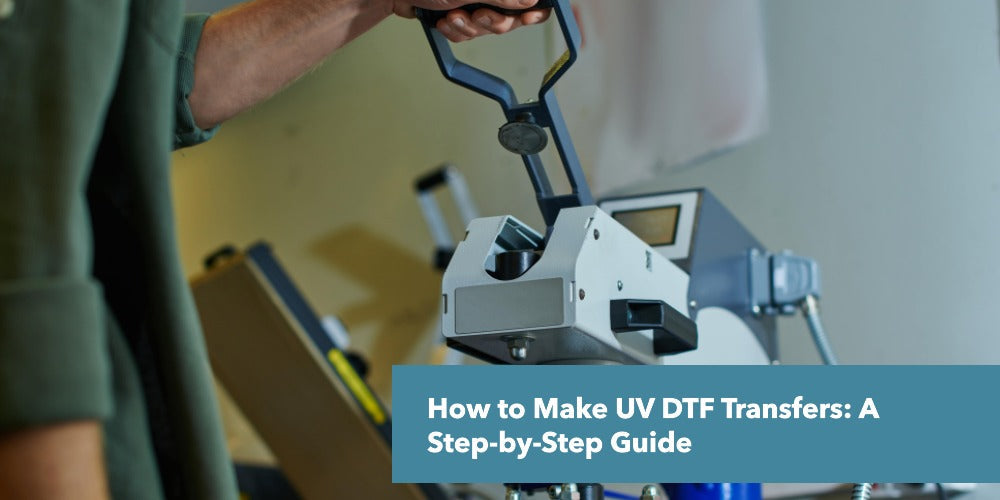
Step 5: Heat Press the Transfer
- Place the printed A film on the B film and laminate together using a heat press or cold roller (depending on film type).
- Peel off the A film after bonding.
- Apply the design to your object and press gently using pressure.
Step 6: Curing the Ink
Expose the final applied design to UV light for a few seconds. This final cure strengthens adhesion and ensures longevity.
Common Challenges in UV DTF Transfers and How to Overcome Them
Print Quality Issues
- Banding or uneven color? Check nozzle alignment and ink levels.
- Blurred prints? Recalibrate resolution and confirm film alignment.
Film Adhesion Problems
- Poor bonding? Ensure film and surface are clean and dry.
- Check that the adhesive layer was applied correctly.
Learn more about how to effectively resolve your Film and ink adhesion problems.
Ink Smudging and Curing Problems
- Inadequate curing leads to smudges. Use proper UV light intensity and exposure time.
- Avoid stacking freshly printed films before curing.
Tips for Best Results with UV DTF Transfers
- Always perform a test print before production.
- Use high-quality films and inks for consistent results.
- Maintain your printer regularly to avoid clogs and print errors.
- Control humidity and dust in the print environment.
- Adjust heat press settings based on material type.
Where to Use UV DTF Transfers?
UV DTF transfers adhere well to:
- Metal tumblers and water bottles
- Glass frames and ornaments
- Acrylic keychains and signage
- Plastic containers and cases
- Wood Decor and Crafts
Creative Uses
- Custom merchandise
- Promotional items
- Small-batch product labeling
- Personalized gifts and business branding
Conclusion
UV DTF transfers represent the cutting edge of modern printing, offering flexibility, quality, and efficiency in one powerful solution. By understanding the equipment needed and following the step-by-step process outlined in this guide, businesses and DIY creators alike can produce stunning, professional-grade prints on nearly any surface. Don’t be afraid to experiment UV DTF gives you the freedom to take your creativity to new heights.