



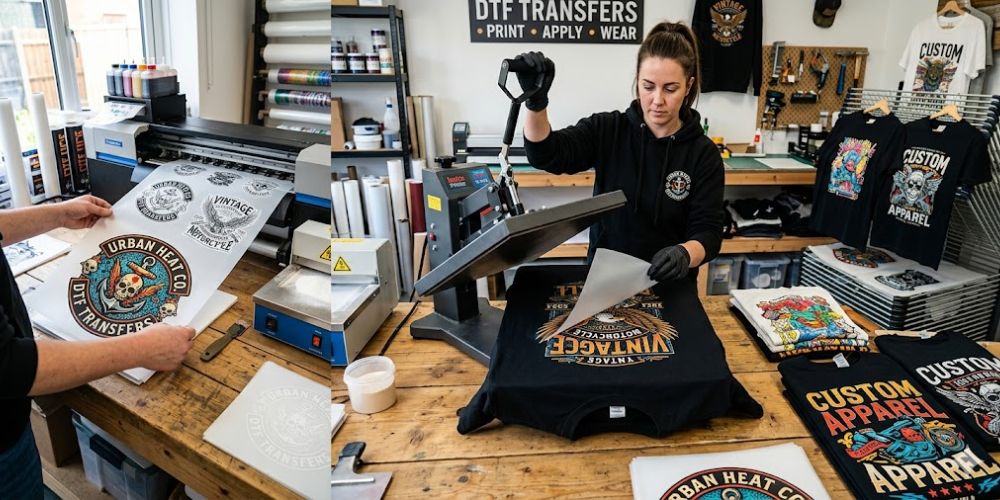
Anyone who has spent even a few hours working with DTF printing knows this one thing pretty quickly. The design can be perfect, the printer can be high-end, the ink can be premium, yet the final result still feels off. Most of the time, the issue quietly sits in one place. Paper settings.
It is not the most exciting part of the process. No one really talks about it when starting out. But after a few failed sheets, wasted film and prints that just do not press right, it starts to make sense. This is where control actually begins.
For teams working with Mad Monkey Transfers, getting this part right early changes everything. Less trial and error. More consistency. Better output without second guessing every step.
Why Paper Settings Change Everything
DTF film is not just something ink sits on. It reacts. It absorbs differently. It holds detail in its own way. When settings are slightly off, it shows up fast. Colors look heavy or faded. Powder sticks unevenly. Transfers either peel too soon or refuse to stick properly.
Most beginners think it is a printer issue. It rarely is. It is usually the way the printer is told to treat the film.
Picking the Right Film First
Before even touching settings, the type of film matters more than expected. Some prefer hot peel because it feels faster during production. Others stick with cold peel because it gives a bit more control, especially when learning.
Matte film is often easier to handle. It holds ink in place better and feels more forgiving. Glossy film can look sharper, but it demands more attention. When using a layout tool like a gang sheet builder, film quality becomes even more noticeable since multiple designs share the same space.
Printer Settings That Actually Matter
This is where things usually go wrong, especially in the beginning.
Resolution Feels Like a Quick Fix
Most people push resolution higher thinking it will fix everything. Sometimes it helps. Most times it just slows things down.
Around 300 DPI tends to give a clean result without overloading the film.
Ink Control Is Where Balance Lives
Too much ink creates a thick layer that never really settles. It looks shiny at first, then causes trouble during powdering. Too little ink leaves prints looking weak and patchy. Finding that middle ground takes a few test prints. There is no shortcut here.
Pass Settings Need Patience
More passes mean deeper color, but also more drying time. Rushing this part often leads to prints that feel soft or messy before curing. Most experienced users settle on moderate pass settings and adjust only when needed.
Drying Is Where Most Problems Begin
This part feels simple, but it causes more issues than anything else.
If the print is still slightly wet, powder grabs too much in some areas and not enough in others. If it dries too much, powder barely sticks. Room conditions matter more than people expect. Heat, airflow, even humidity can shift results.
This is usually the stage where beginners start noticing inconsistency and wonder what changed between two prints that looked identical.
Powder Tells You the Truth
A good powder coat is easy to spot. It looks even, soft and balanced. A bad one shows instantly. Clumps, gaps or uneven coverage.
Most of the time, powder issues are not powder problems. They come from earlier steps. When the ink layer is right, powder almost behaves on its own. This is something many realize after learning how to fix peeling issues and weak adhesion during pressing.
Common Mistakes That Keep Repeating
Everyone makes these at some point. Using default printer profiles without adjustment. Skipping test prints to save time. Adding more ink thinking it improves quality. Trying to speed through drying just to move faster.
Each one seems small at the moment. Together, they create inconsistent results that are hard to trace back.
What Experienced Users Do Differently
They do not guess. They test once, adjust and then save those settings.
They also pay attention to patterns. If something goes wrong, they trace it back instead of changing everything at once. When working with bulk orders or repeat designs, especially through custom DTF transfers, consistency becomes more important than speed. One stable setup saves hours later.
Small Adjustments That Fix Big Issues
Sometimes the solution is not complicated. Reducing ink slightly can stop spreading.
Letting prints rest a bit longer improves powder hold. Adjusting resolution just a little sharpens edges without slowing production.
It is rarely about changing everything. It is about noticing what feels slightly off and correcting just that part. People who improve quickly are usually the ones who stay patient through this stage.
Conclusion
Paper settings in DTF printing are not something that gets mastered overnight. It is more like learning how your setup behaves over time.
Once things start clicking, the process feels different. Prints look cleaner. Transfers feel stronger. Fewer sheets end up in the bin.
For those working regularly with Mad Monkey Transfers, this is where the real efficiency comes from. Not from rushing, not from expensive upgrades, but from understanding how each setting plays its role.
And honestly, once it starts working, it feels a lot less like guesswork and a lot more like control. In fact, when you get our custom dtf transfer, you will understand authentic quality service as an example.