


You make a UV DTF cup wrap by creating your design, printing it on UV DTF film, laminating it, trimming it to your cup size, and then applying it to a clean cup surface with firm pressure so the adhesive bonds properly.
Below is a clear step-by-step guide you can follow:
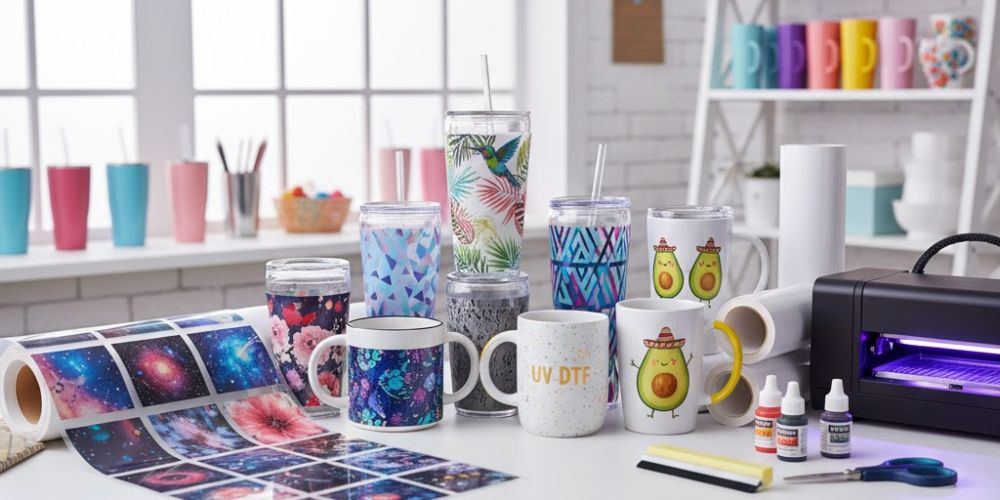
Step by Step Process To Make UV DTF Cup Wraps
Prepare Your Design
Choose the cup size you want to wrap (for example, a 16 oz glass can or a 20 oz tumbler).
Measure:
- Height: from the bottom edge to where you want the wrap to end.
- Circumference: wrap a flexible tape around the cup.
In Your Design Software (Canva, Illustrator, Photoshop, etc.):
- Set the canvas to the exact width (circumference) and height in inches or centimeters. Learn more about creating a gang sheet using Canva.
- Use 300 DPI resolution so your print looks sharp.
- Keep designs inside a small “safe” margin (about 2–3 mm inside the edge) to avoid cut-off.
- This gives you a wrap that fits the cup without stretching or gaps.
Print on UV DTF film
If you have a UV DTF printer:
- Load the A film (printable UV DTF film) into your printer with the correct print side.
- Select CMYK + white (if available) so the design looks bright on glass, stainless, or colored cups. Learn more about CMYK printing in our detailed guide.
- Print with a high-quality setting to get solid colors and clean lines.
- Cure the ink under the built-in or external UV lamp as required by your printer (usually a few seconds per pass while printing).
- If you don’t have a printer, you can send your file to a UV DTF printing service and get your wrap printed on UV DTF film.
Laminate The Printed Design (A film to B film)
Most UV DTF wraps use two films:
A film: printed side.
B film: adhesive side that will touch the cup.
- Once the A film is fully cured and dry to the touch, place the B film over the printed side.
- Use a laminator or a squeegee/card to press the B film onto the print:
- Start from the center and push out to the edges.
- Remove all air bubbles and wrinkles.
- The adhesive from the B film will now sit over your design, ready to transfer.
- This step makes the print behave like a strong, flexible sticker
Trim The Wrap to Your Cup Size
Use a ruler and craft knife or a paper trimmer.
Cut the wrap to the height you measured earlier.
For the width:
- For a full wrap, you can cut it the same as the cup circumference or leave a 2–3 mm gap so the edges don’t overlap.
- For cups with handles (like mugs), leave space so the wrap doesn’t touch the handle area.
- A clean, straight cut helps the wrap sit neatly with no lifted edges.
Clean and Prep The Cup
- Wash the cup with mild soap and water, then dry it completely.
- Wipe the area where you’ll apply the wrap with 70% isopropyl alcohol and a lint-free cloth to remove oils and dust.
- Let it air dry for a few minutes. Do not touch the cleaned area with your fingers.
This helps the adhesive grip the surface properly so your wrap lasts longer.
Position and Apply The UV DTF Wrap
- Peel off the backing from the B film so the sticky side with the printed design is exposed.
- Hold the wrap from the edges so you don’t touch the adhesive.
- Line up one vertical edge with your chosen starting point on the cup.
- Lightly tack down that first edge so you can adjust if needed.
- Once you’re happy with the alignment
- Slowly wrap the film around the cup, smoothing as you go.
- Use your fingers or a felt squeegee/card to press from the center outward to remove air bubbles.
- Take your time here, smooth, even pressure helps you get a clean, professional look.
Press and Bond The Design
- With the wrap fully around the cup, firmly rub over the entire design:
- Use your thumb, a microfiber cloth, or a squeegee.
- Pay extra attention to the edges and any fine details or thin lines.
- Spend at least 30–60 seconds pressing all parts of the design so the adhesive transfers well to the cup.
- This step ensures the design actually sticks to the surface instead of the carrier.
Peel The Film Off Slowly
- Start at one corner of the film.
- Peel it back slowly at a low angle (almost flat against the surface).
- If any part of the design tries to lift with the film:
- Lay the film back down.
- Rub that area again and then peel slowly.
- When you’re done, the design should be fully on the cup with no film left behind.
Let the Wrap Set and Cure on The Cup
- After application, let the cup sit for at least 12–24 hours before washing or heavy use.
- Keep it at room temperature and avoid water during this time.
- This waiting period allows the adhesive to cure firmly so it doesn’t peel or slide.
Basic Care For Your UV DTF Wrapped Cup
- Hand wash only, with mild soap and a soft sponge.
- Avoid dishwashers, very hot water, or soaking.
- Don’t scrub the design with rough pads.