


Applying a UV DTF transfer involves several steps to ensure the design adheres correctly and lasts long. Here's a simple, step-by-step guide to applying UV DTF transfers:
Step-by-Step Guide:
- Prepare the Material
- Position the Transfer
- Set Up the Heat Press
- Press the Transfer
- Peel the Transfer Film
- Final Curing
Step by Step Process Of Applying UV DTF Transfer
Prepare the Material
Start by cleaning the surface of the material (whether it's wood, or another substrate) to remove any dirt, dust, or oil. This ensures that the transfer adheres properly.
Position the Transfer
Place the UV DTF transfer film onto the surface of the material with the printed side facing down. Ensure the design is aligned correctly in the desired position.
Make sure the edges of the transfer are smooth and even, as any creases can lead to uneven transfers.
Set Up the Heat Press
Preheat your heat press to the recommended temperature, usually between 320°F (160°C) and 350°F (175°C), depending on the material.
Set the pressure to medium or firm, depending on the substrate.
Press the Transfer
Place the material with the transfer film into the heat press. Press for about 10-15 seconds. The time may vary depending on the material, so follow the manufacturer's guidelines.
Make sure to apply even pressure across the entire design area for a consistent transfer.
Peel the Transfer Film
After the pressing time is complete, remove the material from the heat press and let it cool for a few seconds.
Peel the transfer film while it’s still warm but not hot. Peel slowly and steadily to avoid damaging the design.
Final Curing
Once the transfer is applied, use a UV curing lamp or oven to fully cure the design. This step ensures the ink is fully set and increases its durability.
Cure the transfer for about 30-60 seconds under UV light. Follow the recommended curing time for optimal results. Learn more about how to cure DTF Transfers through our guide.
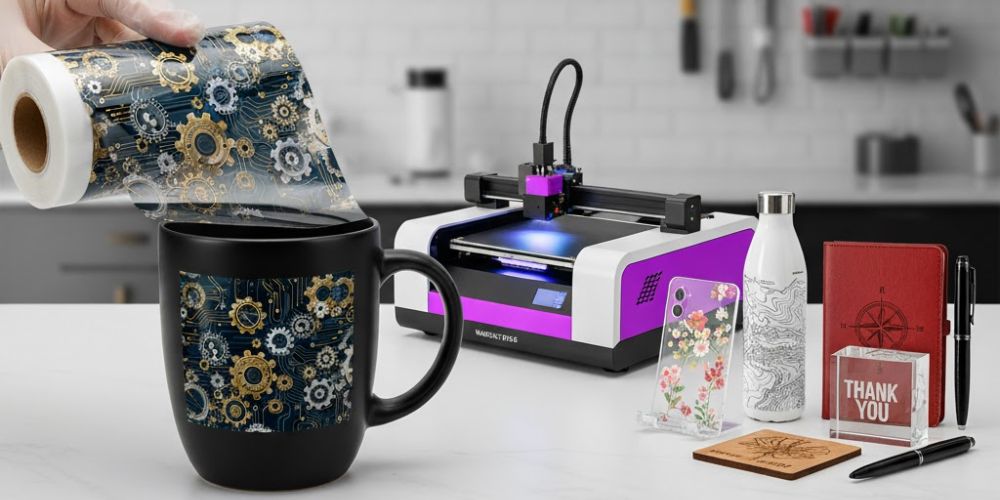
Best Surfaces For UV DTF Transfer and What to Avoid
The best surfaces for custom UV DTF transfers are metal, wood, and certain plastics. Avoid surfaces that are highly textured, greasy, or uneven, like silicone, wax-coated materials, or non-heat-resistant plastics. Here's a detailed explanation of the best surfaces and what to avoid:
Best Surfaces for UV DTF Transfer
Metal
Metal surfaces like aluminum or stainless steel can be used for UV DTF transfers. These surfaces allow for sharp, vibrant prints, but ensure they are clean and free of any oils or dirt.
Wood
UV DTF transfers work well on wood surfaces, especially those with smooth finishes. The design adheres well and is durable once properly cured with UV light. Ensure the wood is sanded and free from dust for the best result.
Certain Plastics
Smooth, non-porous plastics such as acrylic and PVC are ideal for UV DTF transfers. They provide a solid surface for the ink to adhere to, producing high-quality prints. Always check the plastic type for compatibility with UV DTF printing before use.
Surfaces to Avoid for UV DTF Transfer
Silicone
Silicone surfaces are flexible but have a non-porous surface that makes it difficult for the UV DTF ink to adhere properly. The transfer will likely peel off easily, so avoid using silicone for transfers.
Wax-Coated Materials
Surfaces coated with wax create a slippery surface that prevents the transfer from sticking properly. Waxed materials don’t allow the ink to bond, leading to poor results.
Non-Heat-Resistant Plastics
Some plastics, such as certain types of polycarbonate or PVC, may warp under high heat. This can affect the transfer process, leading to damaged or distorted prints. Always check the heat resistance of the plastic before applying a UV DTF transfer.
Highly Textured or Porous Surfaces
Textured surfaces like rough wood with heavy weaves can lead to uneven transfer results. The ink may not settle properly, leading to incomplete or patchy designs. Opt for smooth or lightly textured materials for the best results.