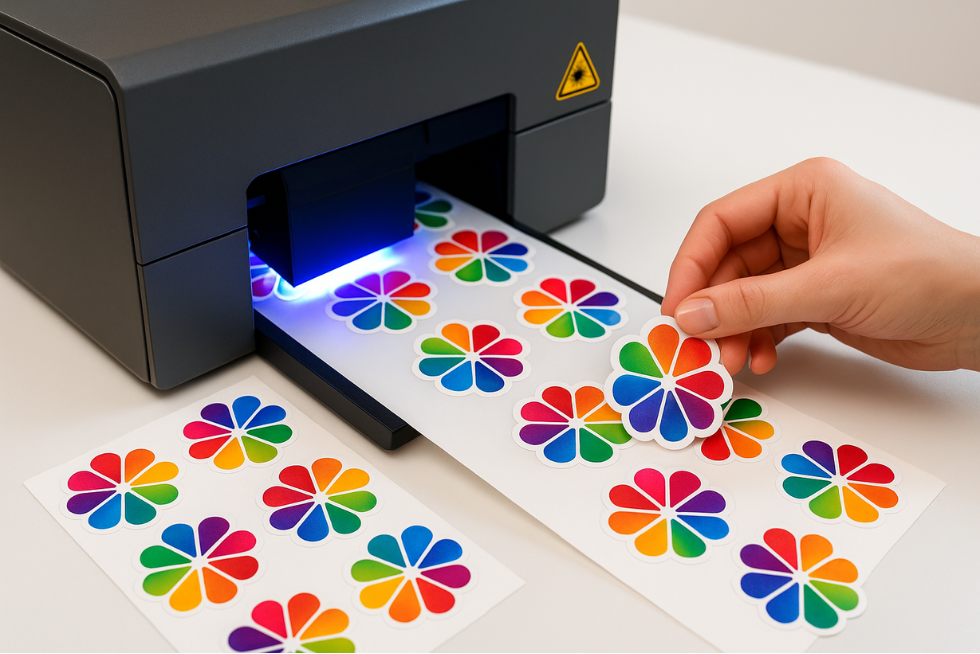
Applying UV DTF Without Specialized Tools
A significant number of crafters and small business owners are interested in UV DTF (Direct-to-Film) printing, yet they don’t have access to professional grade printers and tend to worry about the associated costs. However, it’s more than possible to create high quality UV DTF Type B transfers without having to break the bank on equipment.
This guide is all about practical aspects of UV DTF transfer application method, required materials and expected results.
What is UV DTF Type B Transfer?
Direct-to-film transfer is referred to as UV DTF Type B, where films and UV inks are used. These transfers adhere to a range of materials, including fabrics, ceramics, metals and even plastics. UV printers are standard for commercial processes, but for smaller jobs, great results can be achieved by manually applying UV transfers.
The only manual process most people are familiar with is how to apply the transfer film. In the absence of a printer, manual techniques using flair pens and UV-curable ink require more effort, but they work just as well.
Materials and Equipment
Required Materials:
-
UV DTF Transfer Film Type B
-
1UV Paint Markers
-
Heat Press (Minimum 15” x 15”)
-
UV Lamp (36 Watts and Above)
-
Weeding Tools
-
Heat-Resistant Tape
Optional but Assistive Materials:
-
Graphic Design Programs (Illustrator, Canva and other design software)
-
Protective Gloves
-
Cutting Mats
-
Rulers and Measuring Instruments
Step-by-Step Instructions
1. Creating the Design
Use vector-based programs to perfect any designs that are to be used if none are readily available. For manual designs and templates, choose simple and clean designs that are easy to replicate. Text and shapes such as logos and other geometric designs work best. Avoid designs that are overcomplicated, such as the inclusion of photographs or gradients.
Ensure you upload a design in high definition and consider creating a printable template on a blank sheet of paper for guidance.
2. Application of the Layers of Ink
Always start with a clean work surface. Place the UV DTF film on a flat and stable surface. Following the template you’ve created, use UV-curable markers to create a design on the film. Work in sections, adding the design slowly and in layers to achieve the best results.
Always use thin layers and allow each layer to set before adding additional colors.
3. The Process of Curing with UV Light
Place the design under the UV lamp. Different lamps and inks require different curing times. Most UV inks need 45-90 seconds of curing time. The ink should feel dry and slightly raised after curing.
Move the lamp evenly over the design, or rotate the film to ensure the entire design is cured evenly.
4. Application of Transfers
Set the heat press to a temperature between 300°F to 320°F (149°C to 160°C). Take the transfer out of the curing area, place the design side down onto the target surface and press for 15-20 seconds. For fabrics, apply medium pressure and for harder surfaces like ceramics or metal, apply slightly more pressure.
5. Removal and Post-Cooling
Wait for 30 seconds to allow the item to cool. After cooling, grab the transfer film and, using slow movements, pull it upwards at a 45-degree angle. The design should remain on the surface and the transfer film should come off cleanly.
Examples of When Manual UV DTF is Most Effective
1. When Working With Solid Color Designs
-
Useful for text graphics and basic logos and symbols.
2. When Making Prototypes For New Designs
-
Great for concept testing or small production runs (1 to 25 pieces).
Manual UV DTF is Not Suitable For:
Producing in High Quantities
-
This method is not ideal for large batches due to the time it takes to complete each transfer.
Highly Detailed Designs
-
Manual UV DTF struggles to accurately replicate intricate designs or blend colors.
Photographic Reproductions
-
This method is unsuitable for detailed illustrations with smooth shading or delicate features.
Common Problems and Effective Solutions
Poor Adhesion
Poor adhesion often results from a lack of heat, pressure, or curing time. To fix this, raise the temperature and extend the press time.
Tearing Film During Removal
Peeling is more effective when the film is cooled down. If needed, lower the press temperature.
Uneven Curing
Ensure the UV lamp is placed evenly over the design area for proper curing.
Cost and Practical Value Considerations
Manual application of UV DTF requires basic equipment, ranging from $150-300, making it far more accessible than the $3,000-8,000 entry-level UV DTF printers. Manual application is ideal for testing market demand and producing small-volume runs.
However, it is considerably more time-consuming, with each design taking 5-15 minutes, compared to 30 seconds for machine printing.
Quality Expectations
It is possible to achieve professional results with manually applied UV DTF transfers. While machine-printed transfers typically offer faster speeds and consistent quality, manual application can still produce durable, vibrant designs. However, the consistency and quality may vary depending on the time spent on the process.
For more complex designs or higher volume production, investing in specialized machinery may be necessary.
Wrapping Up
You can still achieve high-quality results with UV DTF Type B without requiring a printer. Though the process is more time-consuming and involves simpler designs, it offers a way to avoid costly equipment investments. Manual application of UV DTF is an excellent strategy for small-volume, customized products or testing market demand.
Success hinges on selecting the right designs, applying proper curing techniques and keeping production goals feasible. The manual route offers an economical and versatile approach to small-batch customization and new design trials.
