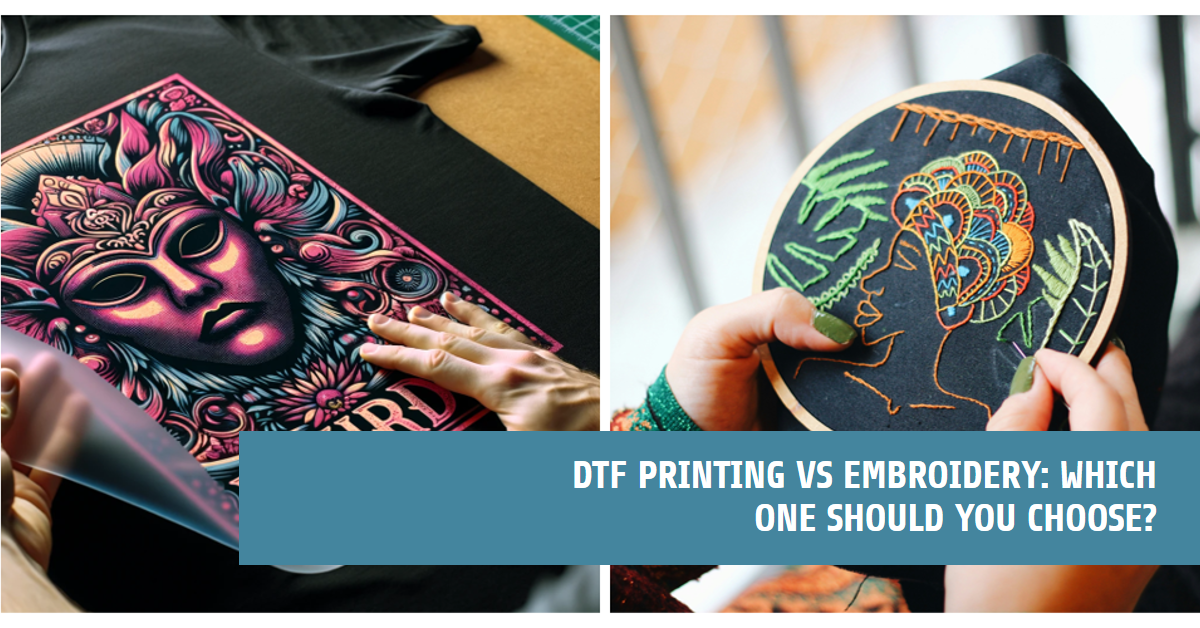
DTF printing and embroidery are popular methods for adding designs to clothing, and each has its own unique pros and cons. As someone who loves to personalize my clothes, I personally understand the importance of choosing the best method for achieving the quality and look I desire. So, let's explore the differences between DTF printing and embroidery to help you make an informed decision.
Let's start with DTF printing. This relatively new method involves using a special printer to transfer colorful designs directly onto fabric. The process allows for intricate details and vibrant colors, making it suitable for complex designs such as photographs or illustrations. DTF printing also offers a soft feel on the fabric, creating a smooth finish that is comfortable to wear.
On the other hand, embroidery is a classic technique that involves stitching thread into fabric to create designs or patterns. This method adds texture and dimension to the garment, giving it a timeless and premium appeal. Embroidery is known for its durability, making it especially ideal for designs that need to withstand frequent washing or rough handling.
What is the Difference Between DTF Printing and Embroidery?
I've found that DTF printing involves using a specialized printer to directly transfer designs onto fabric. This process allows for intricate details and vibrant colors, making it suitable for complex designs such as photographs or illustrations. On the other hand, embroidery is a classic technique that involves stitching thread into fabric to create designs or patterns, adding texture and dimension to the garment. Here’s a complete table with all aspects which will help you to compare side by side effectively.
| Category | DTF Printing | Embroidery |
| Design Complexity | Ideal for intricate designs with many colors and gradients, including photos. | Best for simpler designs with fewer colors and bolder shapes. Complex designs can be time-consuming to embroider |
| Fabric Suitability | Works best on smooth fabrics like cotton and polyester blends. May not be suitable for very thin or stretchy materials. | Can handle a wider range of fabrics, including thicker and textured materials like denim and canvas. |
| Durability | Generally durable, but wash and wear may cause cracking or fading over time, especially on delicate fabrics. | Extremely durable and long-lasting, often outlasting the garment itself. Resistant to fading and washing |
| Texture | Creates a smooth, flat print that feels like part of the fabric. | Adds a raised, textured dimension to the design, giving it a more tactile feel. |
| Cost | Generally cheaper, especially for complex designs with many colors. | Can be more expensive, especially for intricate designs with many thread changes. |
| Turnaround Time | Faster turnaround time due to mechanized process. | May take longer, especially for complex designs. |
Which is Better for You: DTF or Embroidery?
As someone who has explored both DTF printing and embroidery, I'd love to share insights to help you decide which option suits your needs best.
I've personally found that when aiming to achieve intricate designs with vibrant colors on various fabric types, DTF printing offers a stunning result. Conversely, if you value the textured, durable finish and classic aesthetic that stitching brings to your designs, then embroidery is worth considering.
In deciding between the two techniques, it's important to consider factors such as the intricacy of your designs, the type of fabric you'll be working with, and your budget. Understanding these aspects will ultimately guide you towards determining whether DTF or embroidery is the better choice for you.
How To Make Your DTF Prints Look Like Embroidery?
Creating DTF prints that look like embroidery is a creative challenge, but I've found some effective techniques. Here's how you can make your DTF prints mimic the look of embroidery:
Pre-Print Manipulation:
Texturing the Film: Before you start printing, grab a stylus or a textured roller. Use these tools to create raised lines and patterns on the PET film in the areas where the ink will be applied. This step replicates the raised stitches you see in embroidery, adding depth to your design.
Adding Puff Additive: Mix a puff additive with your white ink before printing. This special additive will thicken the ink layer, resulting in a raised surface that closely resembles embroidery threads.
Applying Flocking: For an even more authentic feel, use a flocking powder designed specifically for DTF printing. This powder adheres to the printed ink, creating a soft, velvety texture similar to the texture of embroidery stitches.
Post-Print Finishing:
Embossing: After you've heat-pressed your design, take an embossing tool and carefully add raised lines and patterns on the printed surface. This step adds depth and texture to your design, giving it that 3D effects reminiscent of embroidery.
Punching: To create an embroidery-like stitch effect, use a punch needle tool to manually create holes through the print and fabric. This adds dimension and replicates the appearance of raised stitches in embroidery.
Gel Application: For subtle dimensions and shine, apply a clear gel on top of your design, especially on details and outlines. This will mimic the way light catches on embroidery threads, adding to the overall embroidery-like appearance.
How to Make Your DTF Prints Look Like Embroidery Using Photoshop?
To make your DTF prints look like embroidery using Photoshop, you can use Photoshop actions that create an embroidery effect on the DTF print. Here are the steps:
Find an embroidery action: You can find free embroidery actions online or purchase one from Envato that works great. For example, the "Embroidery Sticker Photoshop Action" is available on Envato. can be used to give your products a different look.
Install the action: Once you have the action, install it in Photoshop by going to File > Scripts > Browse, and selecting the action file.
Apply the action: Open your DTF print in Photoshop and apply the embroidery action by going to File > Scripts > Run Script. Select the action and click "OK."
Adjust the settings: Depending on the action you used, you may need to adjust the settings to achieve the desired embroidery effect. This may include adjusting the stitch length, density, or color.
Save the file: Once you are satisfied with the embroidery effect, save the file in a high-resolution format, such as PNG or TIFF, for printing.

