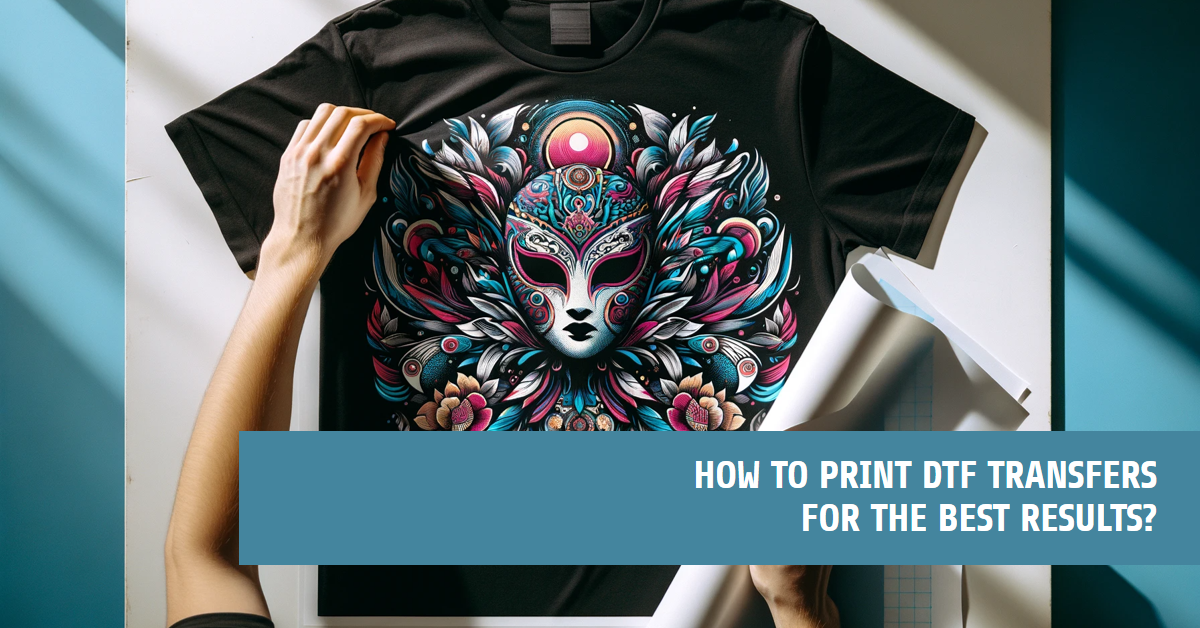
If you're in the business of printing images onto fabric, you know that traditional screen-printing methods can be time-consuming and expensive. But what if there was a better way? Direct to Film (DTF) printing - an innovative technology that offers a more efficient and cost-effective method for transferring images.
DTF printers use PET films instead of mesh to transfer patterns onto fabric. These films are thinner than traditional mesh, with a thickness of around 0.75mm, allowing for more precise and detailed image transfer. PET films also come in cut sheets for home use and rolls for commercial purposes, making them a versatile option for businesses of all sizes.
In this article, we'll walk you through the steps to print DTF transfers, from selecting the right printer and software to preparing your artwork and printing your transfers. Whether you're a seasoned garment decorator or just starting out, this guide will help you create beautiful, professional quality customized DTF transfers that will impress your customers and stand the test of time. But first let's get to know which equipment is required for the DTF Printing.
What Equipment You Need for DTF Printing?

To start DTF printing, you will need the following equipment and supplies:
Computer with Design Software: You will need a computer with design software such as Adobe Illustrator or CorelDRAW to create and prepare your designs for DTF printing.
DTF Printer: A printer that can print directly onto the DTF film. You will need an inkjet printer modified for DTF printing with 6 ink channels CMYK+White.
DTF Ink: Ink that is compatible with your DTF printer. DTF inks are available in CMYKW colors.
DTF Film: A special film that can be printed on and then transferred onto the garment or substrate.
DTF Powder: A special powder that is used to bond the ink to the garment or substrate.
Heat Press Machine: A machine that is used to transfer printed film onto the garment or substrate.
RIP Software: Necessary to print CMYK and white-coloured layers correctly because the printer has been modified and wouldn’t be able to print in the correct order by itself.
Powder Shaker: A machine that is used to apply the powder evenly onto the printed film.
Curing Oven: A heat source that is used to cure the ink and powder onto the garment or substrate.
How to Print DTF Transfers?

Printing DTF transfers involve a few key steps, includes choosing the right printer and software, preparing your artwork, and printing your transfers. Here's a step-by-step guide to help you get started:
Choose the Right Printer: To print DTF transfers, you'll need a printer that can handle the special DTF film. Look for a printer that has a straight-through paper path, which will prevent the film from bending or curling during printing. Some popular DTF printers include Epson SureColor P400, P600, P800, and P1000. For businesses that also manage digital design work like clipping path services, these printers provide the flexibility and precision needed to produce high-quality transfers.
Install the Software: You'll need software that can handle DTF printing, such as AccuRIP Black Pearl or DTF RIP Pro. These programs will allow you to adjust the ink density, print resolution, and other settings to get the best possible print quality.
Prepare your Artwork: Use a graphics program like Adobe Photoshop or Illustrator to create your artwork. Make sure your design is high-resolution (at least 300 dpi) and in CMYK color mode. You can also use a pre-made design from a stock image website or purchase a design from a graphic designer.
Print your Transfer: Load the DTF film into your printer and adjust the settings in your software to match the film type and size. Print your design onto the film, making sure to use enough ink to create a vibrant, opaque transfer. Once the transfer is printed, let it dry for a few minutes before handling.
Transfer the Design: Cut out your transfer using a pair of scissors or a vinyl cutter. Preheat your heat press to the recommended temperature for your transfer film and garment type. Place the transfer onto the garment, cover it with a sheet of parchment paper, and press it for the recommended time and pressure. Peel off the transfer backing while it's still warm, and your DTF transfer is complete!
Additional FAQ’s
What is the Cost Range for DTF printing Equipment?

The cost range for DTF printing equipment varies depending on the size and features of the printer, the type of film used, and the heat press. A basic DTF printer with a single print head can cost around $1,000, while a more advanced printer with multiple print heads and features such as automatic powder application can cost up to $5,000. The type of film used also affects the cost, with higher-quality films costing more. A roll of DTF film can cost around $50. A heat press is also required for DTF printing, and these can cost around $200 for a basic model.
Here is a breakdown of the cost of some of the essential DTF printing equipment:
- DTF printer: $1,000 - $5,000
- DTF film: $50/roll
- Heat press: $200
- Adhesive powder: $20/pound
- Ink: $50/gallon
In addition to the equipment, you will also need to factor in the cost of consumables such as ink, powder, and film. The cost of these consumables will vary depending on the brand and quality you choose.
What are the Best Practices for Preparing Artwork for DTF Printing?
To ensure that your DTF prints come out looking their best, there are some best practices to follow when preparing your artwork. Here are some of the best practices for preparing artwork for DTF printing:
Use High-quality Images: Use high-resolution images that are at least 300 DPI for the best results. This will ensure that your design is sharp and clear.
Simplify your Design: Avoid using too many small details, special effects, or unnecessary elements in your design. Simplify everything and aim to strike a balance between your creative enthusiasm and DTF printer capabilities.
Use Vector Graphics: Use vector graphics instead of raster graphics for your design. Vector graphics are scalable and can be resized without losing quality.
Use the Right Color Mode: Use CMYK color mode for your design. This will ensure that the colors in your design are accurately reproduced.
Use the Right File Format: Use file formats such as PNG, TIFF, or PDF for your design. These file formats are compatible with most DTF printers.
Use Show-through Design: Design your artwork with "show-through." This means your art should have a transparent background, allowing the color of the garment or substrate to show through the design.
Test your Design: Before printing your design, test it on a small piece of DTF film to ensure that it looks the way you want it to.
How to Adjust Color Settings for DTF Printing?
To adjust color settings for DTF printing, follow these tips:
Choose the Appropriate Color Settings: Open your design software, such as Illustrator, and go to Edit > Color Settings. In the Color Settings dialog box, choose the appropriate color settings for your DTF printer.
Print Test Strips: Print test strips to check the color accuracy of your printer. This will help you identify any color deviations or missing colors.
What are Some Common Mistakes to Avoid When Doing DTF Printing?
Set the DTF printing image to CMYK mode: Set your DTF printing image to CMYK mode to ensure that the colors in your design are accurately reproduced.
Modify the ink settings: Modify the ink settings in your DTF printer to adjust the color output. This can help you achieve more accurate and vibrant prints.
Check your printer settings: Check your printer settings to ensure that the printer is set up correctly. Make sure that the printer is set to the correct color mode and resolution.
Avoid Banding: Avoid banding by setting the color to print at the correct resolution. Some people print at 1440x720, but this can cause banding on some printers.
Calibrate your Printer: Calibrate your DTF printer to ensure that the colors are accurate and consistent. This involves printing on special film, applying glue powder, and pressing it into the fabric.
By following these tips, you can adjust the color settings for DTF printing and achieve accurate and vibrant prints.
What is the Best Resolution for DTF Printing?
For DTF (Direct To Film) printing, the best resolution is generally considered to be at least 300 DPI (dots per inch). This resolution is recommended for achieving clear, sharp prints with vibrant colors and fine details. Using vector graphics, when possible, can further enhance the print quality. While higher resolutions may be suitable for intricate and sophisticated graphics, 300 DPI is a practical and commonly recommended resolution for DTF printing.
Which Design File Types is Best for the Dtf Printing?
For DTF (Direct To Film) printing, the best file types to send are vector files, as they provide the best results Here's Why.
These are highly recommended for superior quality and scalability:
SVG: Scalable Vector Graphics - Ideal for logos, simple designs, and text with sharp edges.
EPS: Encapsulated PostScript - Widely accepted format, used in various design software.
AI: Adobe Illustrator - Native format for Illustrator, offering full editing capabilities.
PDF: Portable Document Format - Can contain vector elements alongside other content.
What is the Recommended Color Count for Best Dtf Printing?
While there's no single "best" recommended color count for DTF printing, there are definitely strategies to achieve optimal results based on your specific needs:
For most DTF prints, a range of 6-12 colors is a good starting point. This offers a decent balance between flexibility and affordability.
Start with the standard CMYK (Cyan, Magenta, Yellow, Key Black) process. Build upon this with additional spot colors for specific shades or effects if needed.
What are the Recommended Color Modes for Best Dtf Printing?
The recommended color mode for DTF (Direct To Film) printing is CMYK, as it allows for precise color reproduction and visibility on dark or colorful surfaces. Understanding color modes and color spaces is essential for achieving high-quality DTF prints. While RGB and LAB are also used in DTF printing, CMYK is particularly suitable for this process. It is important to ensure that the color settings are calibrated and that the color space is appropriate for the surface being printed on.
What are the Recommended Color Density Required for the Best DTF Printing?
For the best DTF (Direct To Film) printing, it is recommended to utilize a color depth of at least 8 bits per channel (total: 24 bits), as this ensures accurate and vibrant prints.
Which Printing Speed is Ideal for the Best Dtf Results?
The ideal printing speed for the best DTF (Direct To Film) results can vary based on the specific printer, ink, and transfer film being used. However, it is important to balance speed with print quality.
Some DTF printers are capable of producing 100 full-color 11" x 11" transfers in approximately 30 seconds per application, which can result in over 50 shirts per hour. It is essential to consider the manufacturer's specifications and conduct speed tests to determine the optimal balance between printing speed and print quality for the specific DTF setup being used.
What is a Recommended Ink Density Required for Best Dtf Printing?
The fluency of white ink is also an important factor to consider, and it is recommended to print 10 square meters in 100% ink droplets to get less than 5 pin breaks. Using high-quality DTF inks made specifically for DTF printing can ensure bright and vivid colors.

