



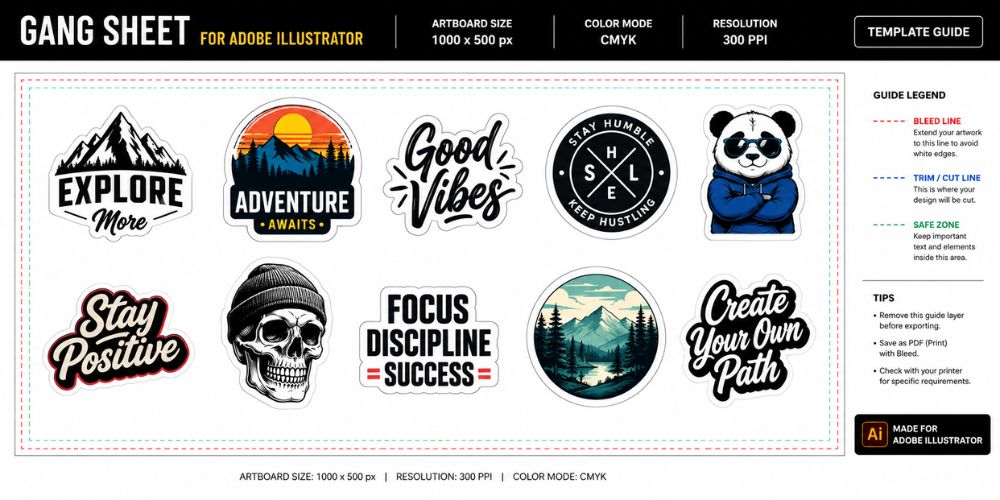
A gang sheet is really just one larger print file holding several smaller designs. People use it because it saves space on the sheet and keeps pocket logos, sleeve prints, names, numbers and back designs together in one order. It sounds technical until Illustrator is open. Then it becomes a simple layout job: set the sheet size, place the artwork, leave room to cut and export the file cleanly.
For makers ordering transfers through Mad Monkey Transfers, knowing how to make a gang sheet in Adobe Illustrator can prevent small mistakes that cost a whole sheet. The goal is not to make the file look fancy. The goal is to send artwork that is sized right, clear and easy to print. It also keeps repeat orders easier when the same designs return later.
Start With The Right Sheet Size
Open Illustrator and create a new file. Set the artboard to the exact gang sheet size needed for the order. Use inches if the print shop lists sizes in inches. This keeps the layout easier to judge.
A common mistake is building the sheet on a random artboard, then resizing everything at the end. That can change artwork sizes without the person noticing. It is safer to build at the final size from the start.
Turn on rulers and guides. They make spacing easier. A simple guide near the edge also helps stop designs from sitting too close to the trim area.
Bring In Clean Artwork
Place each design into the file at the size it should print. If the artwork is vector, Illustrator can scale it cleanly. If it is a PNG or other image file, it needs to be sharp before it comes in.
Low quality artwork will not become better just because it sits on a gang sheet. Small blurry logos still print blurry. Thin lines may disappear. Tiny text may fill in once it hits film.
Good artwork usually has:
- Transparent background
- Clean edges
- Strong resolution
- Correct final size
- No hidden white box behind it
Before moving on, zoom in. The problems are often easy to see when the file is viewed closely.
Arrange Designs Without Crowding
The best gang sheets use space well, but they do not suffocate the artwork. Leave enough room between each design so cutting feels easy. Very tight layouts may save a little space, then create trouble when trimming individual transfers.
Start with the largest pieces first. Place back prints, chest prints or wide designs before the smaller logos. Then use the gaps for pocket prints, tags, sleeve marks or small add-ons.
Do not rotate designs in a way that makes cutting confusing. Rotation is fine when needed, but the sheet should still feel easy to follow.
Check Sizing Before Export
This is the step that saves the most regret. A design can look good on screen while being too small for a hoodie or too large for a left chest print.
Use Illustrator’s transform panel to confirm width and height. Check every repeated design too. Copying artwork is safer than placing the same logo again at a slightly different size.
A quick size check should cover:
- Left chest prints
- Full front designs
- Back prints
- Sleeve prints
- Names and numbers
- Small brand marks
If the file includes text, outline it before sending unless the printer asks for editable text. This avoids missing font problems.
Export The File Cleanly
Once the sheet is ready, remove anything that should not print. No guidelines. No background box. No old artwork sitting outside the artboard.
Many printers prefer a transparent PNG or PDF, depending on their setup. Choose the file type requested by the shop. If exporting PNG, make sure the background stays transparent. If exporting PDF, keep the artwork clean and avoid extra layers that might confuse the file.
Name the file clearly. A simple name with the sheet size and customer name helps avoid mix-ups later.
Conclusion
A good gang sheet does not need to be complicated. It needs the right size, sharp artwork, smart spacing and a clean export. Those basics make printing smoother and cutting less annoying after the order arrives.
For makers who would rather upload ready artwork and keep production simple, DTF gang sheets give multiple designs a clean place on one sheet without wasting print space.