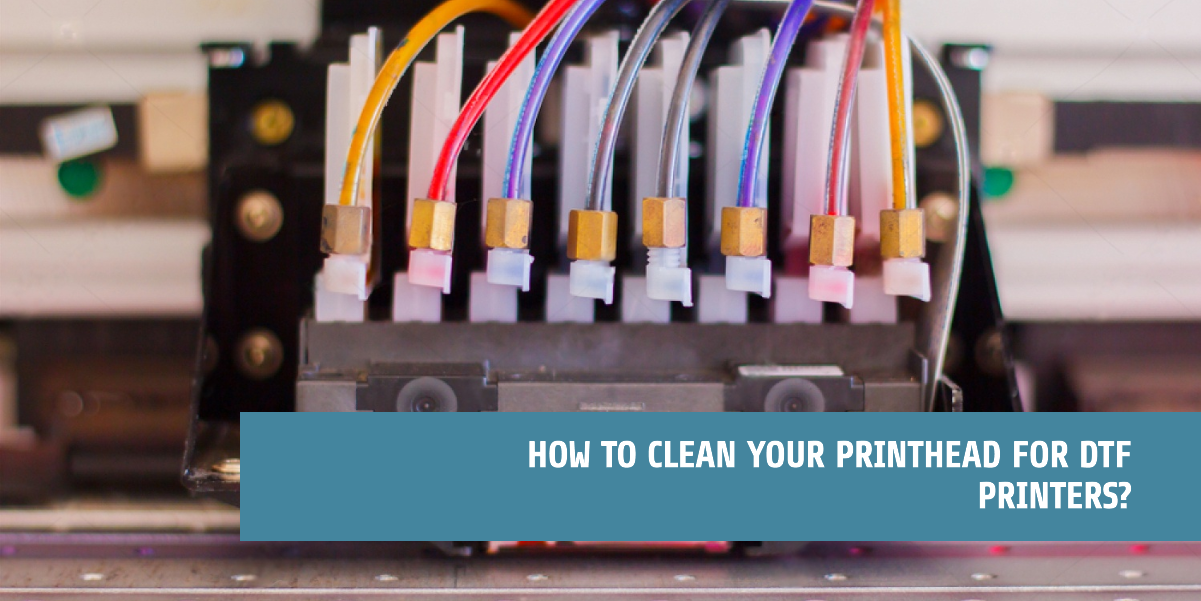
Is your DTF printer spitting out dull colors or patchy prints? It might be time to give your printhead a good cleaning! Don't worry, you're not alone. Clogged nozzles are a common issue, but the good news is they're usually easy to fix with a little TLC.
In this guide, we'll walk you through the simple process of cleaning your DTF printer's printhead. We'll cover everything you need to know, from the tools you'll need to step-by-step instructions. By the end, you'll be a printhead cleaning pro, ready to get your DTF printer back to producing vibrant, high-quality prints.
Before You Begin:
Safety Gear: Make sure to wear gloves and eye protection when handling cleaning solutions. They can be a little harsh on your skin and eyes.
Tools: Here's what you'll need: lint-free cloths, alcohol swabs (isopropyl alcohol is what you're looking for), cleaning solution specifically made for DTF printers (important not regular household cleaner), and maybe some foam swabs for those tricky nooks and crannies. Your printer's manual might have some specific recommendations too, so be sure to check that out.
Methods to Cleaning a Print Head for DTF Printers
Cleaning Solution Soak:
To clean the print head on your DTF printer when using it for custom DTF transfers, let's start by turning off the printer and taking out the ink cartridges. It's important that you give the print head a good clean every day using a lint-free cloth and a cleaning solution that's just right for your printer. But remember, when you're cleaning, be gentle. Applying too much pressure could damage the print head.
If this method doesn’t work for you, then don’t worry, make sure to fill the DTF capping station with about five mil of extreme cleaning solution until it's half full. And let the print head soak in the solution for 20 to 30 minutes to break up any ink solvents.
Ink Flush Method:
If your printer's print head still isn't clear after a basic cleaning, it looks like we might have to take a few extra steps. Let's run a printer nozzle check together to pinpoint which colors are still clogged and need a bit more attention. Depending on what we find, you might need to clean the print head while the printer is on, or it might be necessary to take it out and clean it separately.
To get into a deeper cleaning, we can use a syringe to inject about 10 milliliters of a strong cleaning solution right through the print head nozzle. Make sure you follow the instructions that come with the cleaning solution very carefully, as the right steps can vary. Some solutions might need the print head to be soaked in the liquid for 30 minutes, followed by a rinse with clean water. Others might suggest dabbing a small amount of the solution onto a cloth and gently wiping the print head.
Be extra careful when we clean the print head. Using the wrong solution or putting too much force into it can end up causing damage. And since some printers have their print heads fixed in place, it's really important that you look up and follow the specific instructions for your printer model. That way, we can avoid any mishaps and keep your printer running smoothly.
Professional Cleaning Swabs:
Instead of reaching for a cloth, let's try some professional cleaning swabs. This way, you can avoid putting too much pressure on the print head and causing more clogs. We'll focus on gently cleaning around the side areas and the channels where the ink flows out. Using a cleaning solution, we'll use smooth gliding motions to navigate between those channels. And remember, doing this cleaning daily is key to preventing ink buildup, which could save us from having to replace an expensive print head down the line.
You can find print head cleaning solutions for sale, and it's important to choose one that's recommended by your printer's manufacturer. Isopropyl alcohol, especially if it's 90% concentration or higher, is another option for cleaning print heads. However, some experts suggest not using isopropyl alcohol unless you're following the advice of a professional, as it could damage the print head.
Keeping up with regular print head cleaning is a smart move. It helps make sure your prints come out looking great, prevents clogs, and cuts down on the chances you'll need to fork out for expensive repairs.
What Can I Use To Clean My Print Head?
To clean your print head, you can use a few simple methods: manual cleaning, printer cleaning utility, or print head cleaning solution. These methods can help restore the print quality and unclog any dried ink or debris.
Manual Cleaning (Step 1)
Turn off your printer and unplug it to avoid any electrical hazards.
Remove the DTF ink cartridges carefully.
Use a lint-free cloth or paper towel lightly dampened with distilled water or a cleaning solution.
Gently wipe the print head’s surface to remove any excess ink or residue. Avoid pressing too hard to prevent damage.
Printer Cleaning Utility (Step 2)
Many printers come with built-in cleaning utilities accessible from the DTF printer settings on your computer.
Navigate to the printer DTF software, and find the "Maintenance" or "Tools" section.
Choose the "Clean Print Head" or "Head Cleaning" option.
The printer will automatically run a cleaning cycle to unclog the nozzles and improve print quality. Be aware that this can consume ink, so use it sparingly.
Print Head Cleaning Solution (Step 3)
If manual cleaning doesn’t work, you may need a specialized cleaning solution, especially for stubborn clogs.
Apply the cleaning solution directly to the print head or soak the print head in it, depending on the printer model.
Leave the solution for a few minutes to dissolve the dried DTF ink, and then wipe it off gently.
Reinstall the cartridges and run a test print to check if the issue is resolved.

