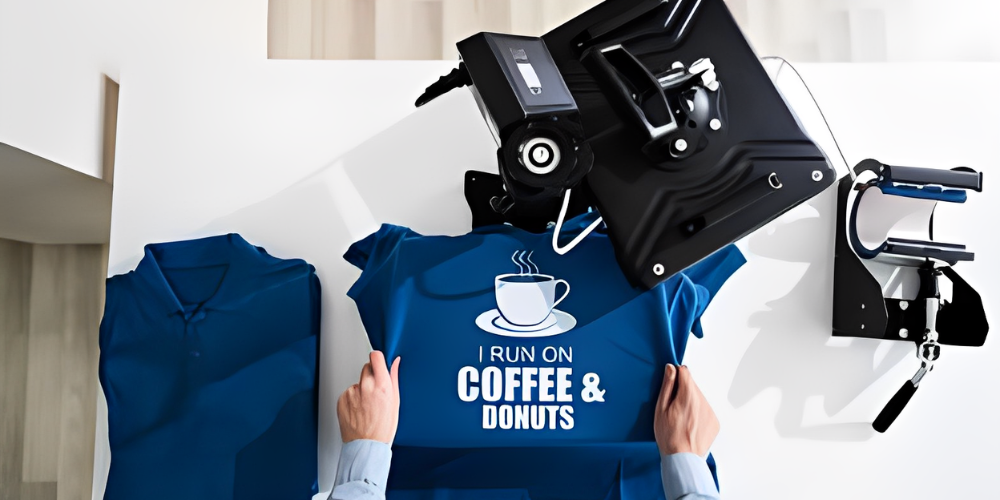
As someone who has spent a good amount of time mastering the art of heat pressing DTF (Direct to Film) transfers onto T-shirts, I'm thrilled to share my journey and insights with you. Today, I'll guide you through this process, sprinkled with some personal tips and tricks that have significantly helped me along the way.
Tips For Applying DTF Transfers on T-shirts
Essential Tools
Firstly, you'll need a heat press and DTF transfers. My current heat press is a 16 x 20 model, which I find quite versatile for both large and small designs. While there are various heat presses available, choose one that suits your needs. I've experimented with both budget-friendly and high-end models, and each has its own applications.
Preparing Your Transfers
DTF transfers usually arrive in gang sheets, typically shipped in a 24-inch roll. Before you start, remove the color bar along the transfers with scissors. This step is important for clean and precise transfers.
Selecting the Right Garment
For this demonstration, I'll use a Next Level 3600, a 100% cotton T-shirt. Remember, different materials require different heat settings. For instance, polyester or dry-fit materials need a lower temperature than cotton.
Heat Press Settings and Preparation
Set your heat press to 300 degrees for cotton garments, adjusting the duration and pressure as necessary. Begin by pre-pressing the shirt for seven seconds to eliminate moisture. This step is vital for ensuring a successful transfer.
Placing the Transfer
When positioning the transfer, a good rule of thumb is to place it about three fingers or approximately (2.5 to 3 inches) from the top of the shirt. Align it carefully, I usually eyeball the alignment using my thumbs as guides to center the design.
The Pressing Process
Once aligned, press the transfer at 300 degrees for 7 seconds under heavy pressure. After pressing, let it cool for about 15 seconds. This is an essential step for cold/warm peel transfers. If you're in a hurry, you can press several shirts in succession and then peel the transfers once they've cooled down.
Peeling the Transfer
Gently peel the transfer starting from a corner. For designs with small details or lettering, I recommend starting from the corner that covers the largest surface area of the transfer. Peel away from the shirt rather than upwards to ensure a smooth removal.
Second Pressing
After peeling, reposition the same film on the shirt and press again for another seven seconds. This ensures all edges and fine details are perfectly adhered to. Once done, inspect the T-shirt for any misaligned letters or designs.
Working with Detailed Transfers
For intricate designs, like a QR code or small lettering, use heat-resistant tape to secure the transfer. This prevents the transfer from lifting during the pressing process. A swipe with a microfiber cloth can also assist in evenly distributing heat over fine details.
Pressing on Challenging Garments
When dealing with zippers or seams, as in hoodies, use heat press pillows to create an even surface. This avoids scorch marks and ensures consistent pressure. Place the pillow inside the garment and adjust the heat press pressure accordingly.
Final Thoughts
Each garment and transfer might require slight adjustments in technique. It's a process of learning and adapting. What's most important is to keep experimenting and find what works best for every DIY Projects.
Remember, patience and practice are key. With each press, you'll get better at understanding the nuances of DTF transfers.

